

Maps Master Class, Subsection III (Part II of Navigation Guide)
Legends, Contour Lines, Orientation and Declination.

Welcome to part III of our Maps Master Class. We’ve looked at grids and coordinates, now let’s delve into the other symbols on the map and start breaking down how we use the map to get from point A to point B.
Deciphering the Legend: Symbols and Color Codes
The legend of a map, often called the key, is the Rosetta Stone that unlocks the wealth of information contained within. It’s here that the map’s symbols and color codes are explained, providing the essential context needed to accurately interpret the data presented.
Once again we’ll use this USGS topo map as a reference point:

Symbols
1. Natural Features: Typically, natural features such as rivers, lakes, forests, and mountain ranges are represented by universally recognized symbols or icons. For example, a blue line might denote a river, while a green shaded area could indicate a forest. Understanding these symbols allows you to read the map’s terrain at a glance. Often certain kinds of maps, such as the USGS topos, will have detailed explanations of the symbols available.
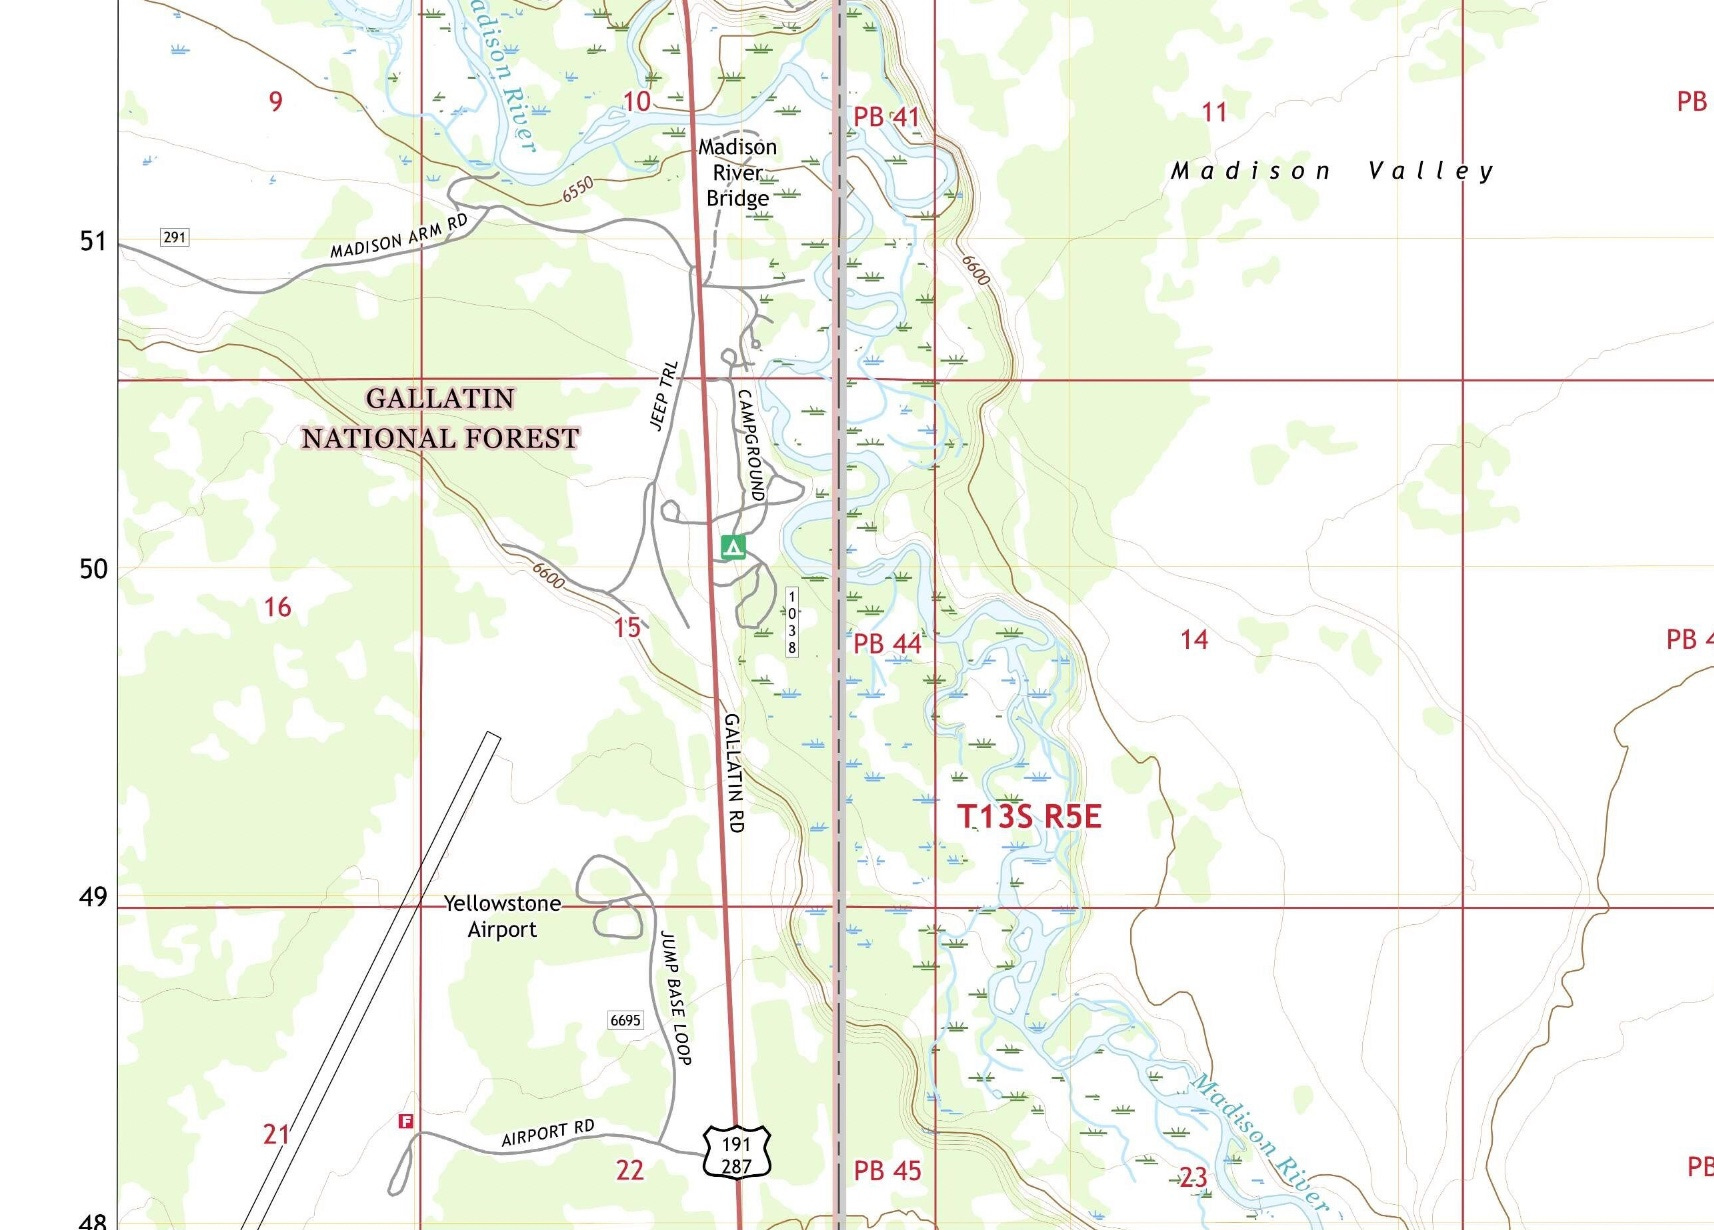
As you can see along the Madison River there are symbols indicating water, as marshlands. There’s also green shaded areas indicating forest.
Keep reading with a 7-day free trial
Subscribe to Collapse Curriculum to keep reading this post and get 7 days of free access to the full post archives.